




A new split system air conditioner is a big investment in home comfort, especially in Brisbane’s climate. But many homeowners hesitate because they don’t know what the installation process actually involves. Will it take all day? Will there be mess or disruption? What exactly happens, and how can you prepare?
split system installation
This guide walks you through every step of a professional split system installation in Brisbane—from the first site visit to the final test run. Knowing what to expect removes uncertainty, helps you plan, and ensures the job runs smoothly. A clear, structured process isn’t just good service—it’s proof of expertise.
Before Installation Day
Site Assessment Visit
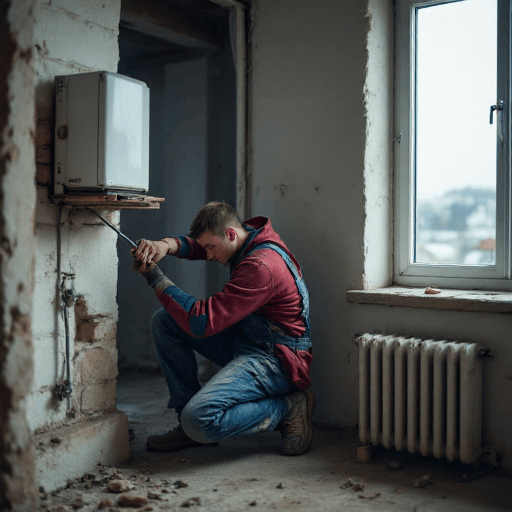
Every professional split system installation begins with a site visit. A technician visits your home to assess the space, confirm the unit size, and identify the best locations for both the indoor and outdoor components. They’ll check wall structure, electrical capacity, and any potential obstacles like pipes or wiring.
This visit typically takes 30–45 minutes and is often free or included in the quote. It ensures the system is correctly sized for your room, avoiding inefficiency or premature wear. You’ll also receive a detailed quote, including labour, parts, and any additional work like electrical upgrades or wall modifications.
Choosing the Right Unit
During the site visit, the technician will recommend a unit based on room size, insulation, and usage patterns. They’ll explain capacity (measured in kilowatts), energy ratings, and smart features like Wi-Fi control or air purification. You’ll have the final say, but their guidance helps avoid overspending on an oversized unit or underpowering a large space.
Preparing Your Home
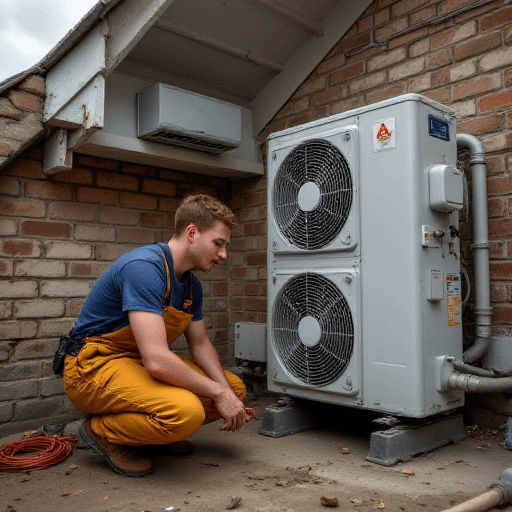
On the day before installation, clear the areas where the indoor and outdoor units will go. Move furniture, wall art, or fragile items at least 1 metre away. If the outdoor unit is on a balcony or patio, ensure there’s unobstructed access. For indoor units, check that the chosen wall can support the weight and has no hidden pipes or wiring.
You may also need to arrange for an electrician if your home requires a dedicated circuit or switchboard upgrade. Your installer can often coordinate this, but it’s best to confirm in advance.
Installation Day Timeline

Morning: Arrival & Setup
Most installations begin between 7:30 and 8:30 AM. The team arrives with all necessary tools, equipment, and safety gear. They’ll lay down drop sheets to protect floors and furniture, and confirm the installation plan with you. This is a good time to ask any last-minute questions.
Mounting the Indoor Unit
The indoor unit is mounted on a wall bracket, usually high on an exterior wall for optimal airflow. The team drills a small hole (around 75mm) through the wall to connect the refrigerant lines, drain pipe, and electrical cables to the outdoor unit. They’ll seal the hole to prevent drafts or pests.
This step takes 1–2 hours, depending on wall material (brick is slower than timber). The team will check for level placement and secure mounting to prevent vibration or noise.
Installing the Outdoor Unit
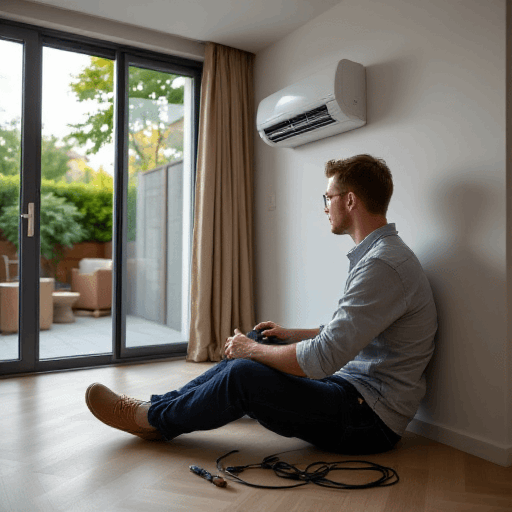
The outdoor unit is placed on a stable, level surface—either on the ground, a wall bracket, or a concrete slab. It must have at least 30cm clearance on all sides for airflow. The team connects the refrigerant lines, electrical cables, and drain pipe through the wall hole, then insulates the lines to prevent energy loss.
This step takes 1–1.5 hours. If the unit is on a roof or balcony, extra time may be needed for safety harnesses or scaffolding.
split system installation — what matters
Electrical & Refrigerant Work
A licensed electrician (or the installer, if qualified) connects the system to your home’s power supply. They’ll test the circuit and ensure it meets safety standards. The refrigerant lines are then vacuumed to remove moisture and air, and the system is charged with refrigerant.
This is a critical step—poor vacuuming or incorrect refrigerant levels can reduce efficiency and damage the compressor. It typically takes 30–45 minutes.
Testing & Commissioning
Once everything is connected, the system is turned on and tested. The team checks for proper airflow, cooling performance, and that all controls work. They’ll also inspect for leaks, unusual noises, or vibration. You’ll receive a demonstration of how to use the remote, set timers, and clean the filters.
This final step takes 30–60 minutes. Before leaving, the team will clean up any debris, remove drop sheets, and provide you with warranty documents and care instructions.
After Installation
First 24 Hours
Your new split system will reach full efficiency within 24 hours. Avoid adjusting the temperature drastically during this period—let it run at a moderate setting (around 24°C) to allow the refrigerant to settle. Check the airflow and listen for any unusual sounds.
Ongoing Maintenance
To keep your system running efficiently, clean the filters every 2–4 weeks and schedule a professional service every 12–24 months. Your installer will show you how to remove and wash the filters—it’s a simple task that takes less than 10 minutes.
Warranty & Support
Most split systems come with a 5–7 year warranty on parts and labour, but this often requires professional installation and regular servicing. Keep your installation receipt and warranty documents in a safe place. If you notice any issues, contact your installer promptly—most problems are easily fixed if caught early.
Why a Structured Process Matters
A clear, step-by-step installation process isn’t just about efficiency—it’s about peace of mind. When you know what’s happening at each stage, you can plan your day, avoid surprises, and trust that the job is being done right. A professional installer doesn’t just show up with a drill and a unit; they follow a methodical approach that ensures safety, performance, and longevity.
In Brisbane’s climate, a well-installed split system can last 10–15 years with proper care. The difference between a rushed job and a professional installation isn’t just a few hours—it’s years of reliable comfort, lower energy bills, and fewer repairs.
If you’re ready to install a split system in your Brisbane home, choose an installer who explains the process upfront. It’s the first sign of a service that values transparency, quality, and your long-term satisfaction.
Related on this site
- Air Conditioner Maintenance
- Energy Efficiency
- Heating a Queensland Home With High Ceilings in Winter: Smart Strategies
- Zoned Heating for Winter in Queensland Homes: Warm Rooms, Not Whole Houses
.jpg "How Split System Installation Works in Brisbane")