




You’ve chosen the wall, the painter has been and gone, and the installer is standing there with a bracket asking “here okay?” — and you’re not actually sure whether that height is right. The answer is specific: mount the top edge roughly 15–30 cm below the ceiling and the bottom edge at least 2.1 m above the floor. This band matters more than most buyers realise.
The working band and why it matters
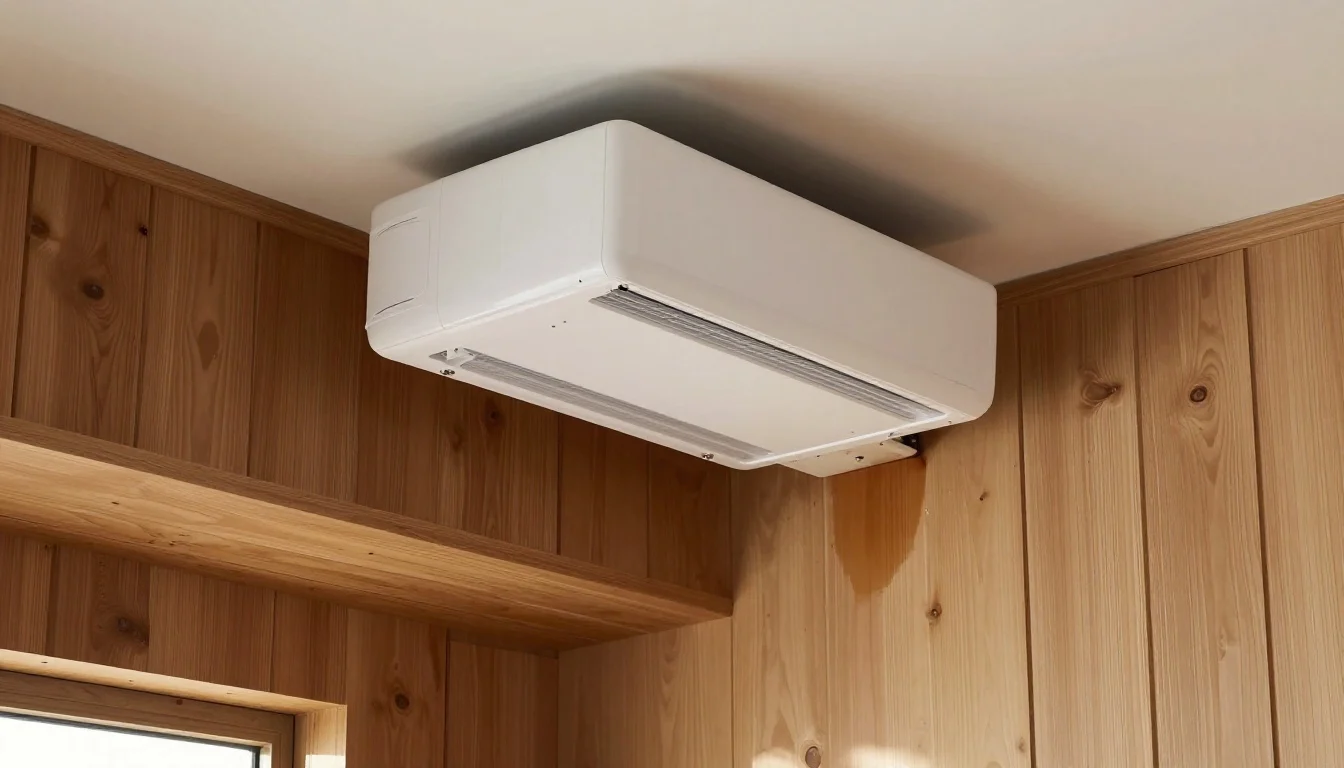
The standard split system height range is not arbitrary. It balances airflow physics with practical access. The top of the unit should sit about 15–30 cm below the ceiling. This leaves enough space for air intake without choking the unit. The bottom edge must be no lower than 2.1 m above the floor.
Why 2.1 m? It clears the head height for most people walking under the unit. It keeps the hardware out of reach of standard furniture like sofas and bookshelves. More importantly, it avoids the door-swing zone. If a door hits the unit, the service panel snaps, causing physical damage. Sticking to this band prevents those collisions.
Drainage is the hard constraint
While comfort matters, drainage is the real limit. The condensate drain relies entirely on gravity to move water from the indoor unit to the outside. If the head is mounted too low, or if the wall is on the wrong side of the room relative to the exit point, the drain cannot fall.
In these cases, the installer must fit a condensate pump. This is an extra part that consumes power, requires a dedicated power outlet nearby, and can fail mechanically. If you have the choice, avoid the need for a pump. Ensure the unit has enough elevation to allow a gravity drain run to the exterior. This decision affects your future running costs and reliability.
Clearance rules for top intake
The unit draws air in through the top face. It needs the manufacturer’s specified clearance above it. While commonly 15 cm or more, you must check the installation manual for your model to confirm the exact figure. Mounting the unit flush against a cornice or a bulkhead chokes this airflow.
When airflow is restricted, the unit quietly loses capacity. It works harder to pull air, which raises energy use and reduces cooling speed. Before confirming the position, check for cornices. If the cornice sticks out into the room, the unit might sit deep inside the bulkhead. In that case, you may need to lower the unit to clear the intake, or accept reduced performance.

When too high causes real problems
Moving the unit higher than the standard band creates specific headaches. If it is mounted hard up against the ceiling or tucked into a raked-ceiling peak, the technician needs a ladder just to check the filters.
Regular maintenance requires accessing the filters and the service panel. If the unit is 3 meters up, the job becomes a safety risk and a higher cost. Additionally, if the unit dumps cool air at the very top of a high room, the air may short-cycle near the ceiling. It fails to mix down effectively where people actually sit, leaving the lower room warmer than the thermostat reads.
Why too low hurts comfort
Moving the unit lower than 2.1 m is worse for daily comfort. Mounted at shoulder or chest height, the cool supply air blows straight onto seating areas or beds. This creates the classic “freezing in one spot” complaint.
Beyond comfort, a low position exposes the unit to physical risks. It gets closer to water splashes from plants, knocks from children or pets, and furniture bumps. It sits in the direct line of traffic and daily life.

Conflict checks before locking the position
The height decision cannot be made in isolation. You must check for conflicts with other room features before the bracket is drilled.
- Ceiling fan airflow: If the fan throws air upward toward the unit, the two air streams fight each other. This stirs up the wrong air and reduces efficiency.
- Curtain and blind drops: Check if a curtain rod hangs over the unit. It can block the airflow path or obscure the service panel.
- Door swing arc: Verify the swing of the door; if the door hits the unit, you have a structural issue that needs resolution.
- Built-in robe clearance: Ensure there is enough space around the unit if it is near a wardrobe or built-in closet.
- Outdoor unit position: Match the outdoor unit on the far side of the wall. The refrigerant pipes and drain lines need to run between the two. If the indoor height and outdoor height do not allow for a straight, efficient pipe run, you may end up with unsightly loops or long, inefficient runs.
Get the bracket height checked before it is drilled
Confirm your wall position by verifying the drain fall, checking for cornice clearances, and ensuring the unit sits clear of all furniture and obstacles.
If you are unsure about the cornice clearance or the drainage path for your specific room layout, do not guess. Call Air Conditioning Expert Brisbane on 0420 718 827 to have the position checked on site before the installer arrives.


